RFQ
Share

Field Inspections
Automated Ultrasonics (AUT)

Automated Ultrasonics (AUT) Inspection Services


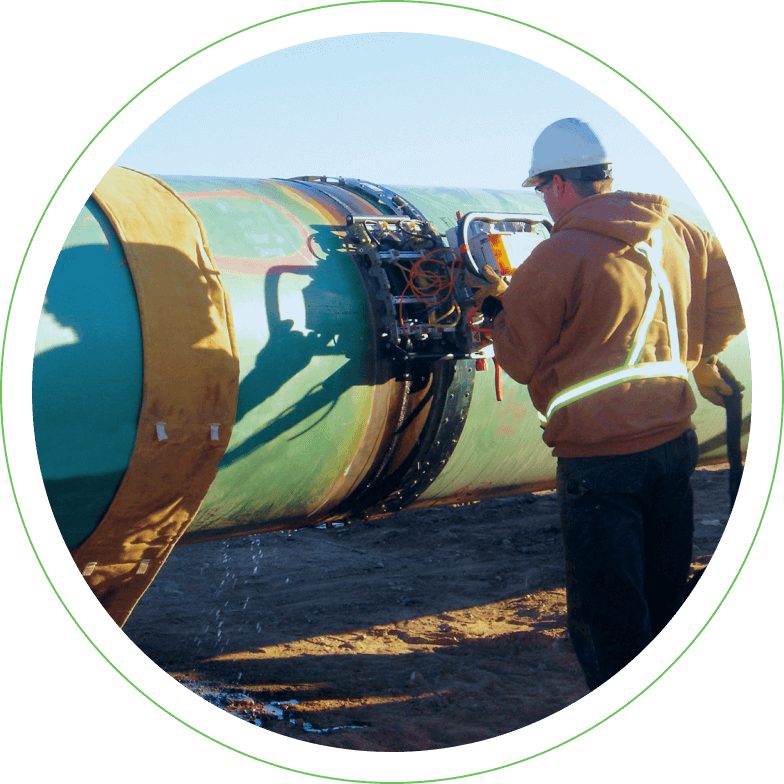
Close up view of Weldstar.jpg
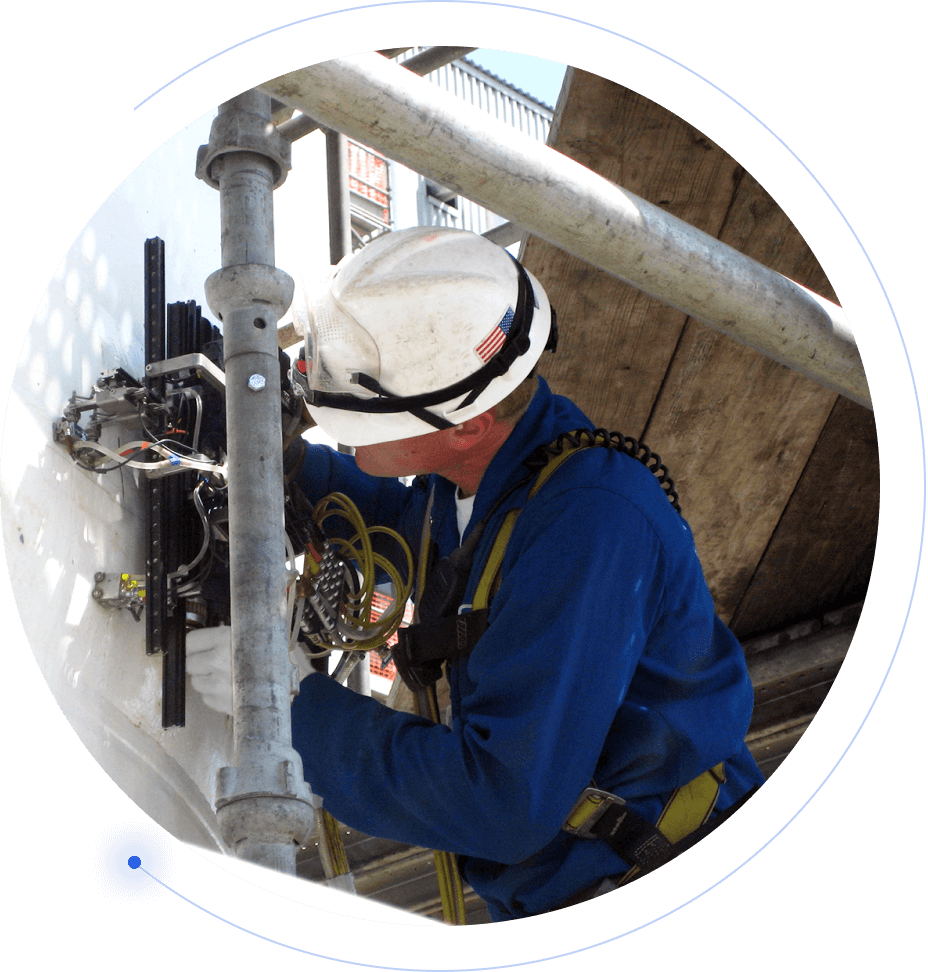
Technician performing Phased Array Inspection.jpg
Phased Array Inspection of Tank Wall.jpg

MISTRAS’ Automated Ultrasonic (AUT) inspection services are advanced, accurate, and effective techniques to monitor discontinuities over successive inspection intervals, calculate growth rates of discontinuities, and plan repair or replacement activities.

MISTRAS has been an NDT technology world leader for decades, and is constantly at the forefront of developing innovative applications for AUT inspection technology to serve our customers more effectively.

AUT inspection supplies highly-accurate data as an important tool for implementing Risk Based Inspection (RBI) programs, Fitness-for-Service (FFS) Analysis, and remaining useful life programs. These advanced non-destructive testing (NDT) inspection techniques are also widely-used in capital projects, turnaround scheduling/planning, and shutdown/outage projects.

MISTRAS provides these services in the field at our customer’s facilities and out of our in-house laboratories.

Automated Ultrasonic (AUT) Inspection Technologies

MISTRAS provides an array of AUT inspections, each of which offer distinct advantages for specific applications. Our trained and certified technicians are backed by decades of MISTRAS’ company expertise in helping our clients choose the proper inspection technique based on the application and project requirements.

MISTRAS’ available AUT inspection technologies include:
  • Automated Ultrasonic Backscatter Technique (AUBT)
  • Guided Bulk Wave (GBW)
  • Guided Wave (GUL)
  • Large Structure Inspection (LSI)
  • Phased Array (PAUT)
  • P-Scan Technology
  • Time of Flight Diffraction (TOFD)

When recommending an AUT inspection technique, our technicians consider the anticipated damage mechanism, surface area that needs to be inspected, operating condition of the asset, ability to access the area in question, and a variety of other factors when making their recommendation.

Benefits of AUT inspections include:
  • Optimization of inspection spend
  • Reliable, repeatable, and accurate results
  • Minimal costly internal entry
  • Minimal unnecessary repairs
  • Reduced downtime
  • Potentially reduced outage/turnaround schedules
  • Online inspection data for advanced planning
  • Support for RBI, FFS, and remaining life programs

Large Structure Inspection (LSI™) Services

Developed in-house by MISTRAS engineers, MISTRAS offers fully-automated inspections of your largest assets with our Large Structure Inspection (LSI™) robotic scanner services.

The LSI system is often-utilized as a high-speed erosion/corrosion scanning system. Operating at higher scan speeds than traditional inspections, the LSI system is designed to cover large surface areas in a short amount of time, such as:

The LSI helps MISTRAS technicians generate a global view of damage mechanisms to identify areas of active corrosion, erosion, and wall-thinning. Operating with time-of-flight-diffraction (TOFD) applications, MISTRAS’ LSI services also include the mapping and measurement of an asset’s wall thickness, corrosion mechanism, and weld quality.

The LSI's mapping features create panoramic images of eroding and corroding sections of an asset, stitching together individually-scanned sections to identify and determine the root cause of damage, extent, and severity of damage mechanisms. The LSI also maps Preferential Corrosion Patterns for welds, identifying metallurgical issues, weld flaws, and mechanical damage.

Learn more about our Large Structure Inspection (LSI™) services here.

Automated Back Scatter Technique (AUBT) Inspection Services

Advanced Ultrasonic Backscatter Technique (AUBT) is a collection of techniques used to evaluate frequency dependence, velocity ratio, and several other factors within an asset's material to determine which pieces have been affected by High Temperature Hydrogen Attack (HTHA). AUBT is part of MISTRAS' HTHA proceduralized Special Emphasis Program for HTHA detection.

MISTRAS’ Advanced Ultrasonic Backscatter Technique (AUBT) services are a reliable method of detecting and quantifying damage from High Temperature Hydrogen Attack (HTHA), which can occur in steel and steel alloys. This proven ultrasonic inspection technology is applicable to materials of any geometry with or without cladding. AUBT inspections are able to determine damage progression through walls, and determine between fissures and other internal defects.

Phased Array (PAUT) Inspection Services

Phased Array is an ultrasonic testing technique that uses specialized multi-element “array” transducers and pulses those elements separately in a patterned sequence called “phasing”. This phasing sequence allows wave steering, focusing, and scanning. This is all performed electronically. The examination can be tailored for each application, increasing speed and reliability of the inspection.

Phased Array (PAUT) inspection can identify defects on a variety of equipment, including welds, pressure vessels, piping, tubing, turbine blades, landing gear cylinders, castings, and many others.

PAUT produces measurements that are synchronized to make the detection, location, and characterization of defects much more reliable and exact. The versatility of the technology allows for simultaneous views of different representations, making defects such as corrosion and cracking apparent in a material.

PAUT offers excellent repeatability and increased inspection speeds. Since there is no radiation or environmental hazards, PA inspections can access restricted areas and maximizes on-site and personnel safety.

Learn more about our Phased Array inspection solutions here.

Sample Phased Array (PAUT) Inspection Applications
  • Flaw detection and sizing
  • High Temperature Hydrogen Attack (HTHA) inspection
  • In-service inspections for damage mechanisms
  • New vessel and piping code inspection
  • Stress Corrosion Cracking (SCC) inspection
Time-of-Flight Diffraction (TOFD) Inspection Services

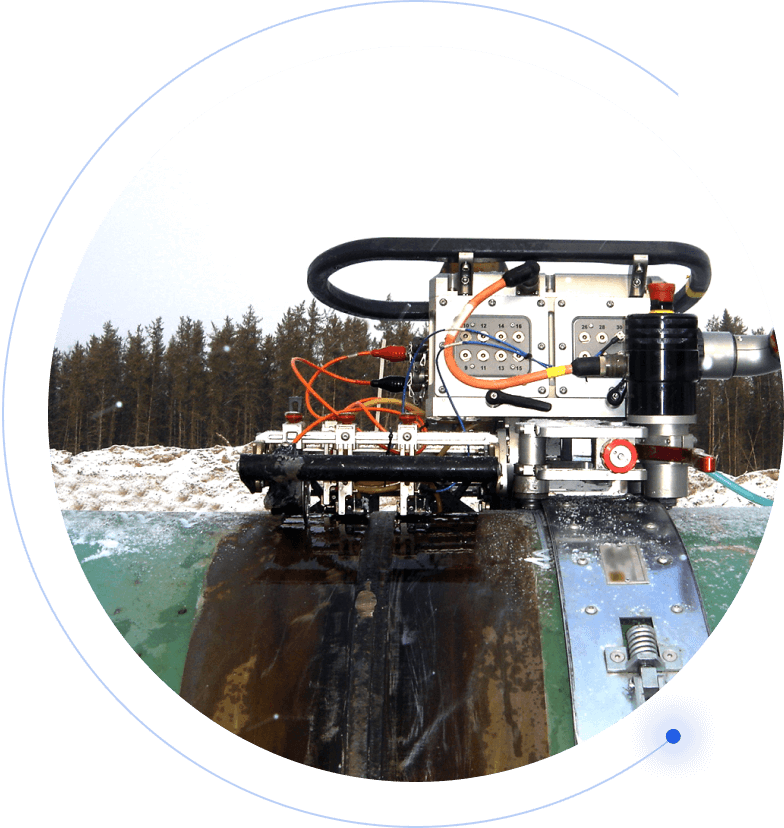
TOFD uses longitudinal waves passed between ultrasonic sensors to detect, locate, and size flaws based on the time of flight of any diffracted beams. MISTRAS utilizes TOFD to rapidly scan heat-affected zones and in-service components to analyze material composition and determine asset integrity.

Frequently as a quick survey tool for heavy wall pipes and pressure vessels, Time-of-Flight Diffraction (TOFD) can examine assets for welding fabrication defects and provide accurate through-wall depths of existing cracks.

TOFD enables MISTRAS inspectors to image discontinuities and analyze data for location and sizing. Assets can remain in-service, and accurate results are produced in real-time. TOFD inspection is sensitive to all types of weld flaws.

Sample Time-of-Flight Diffraction (TOFD) Inspection Applications
  • High Temperature Hydrogen Attack (HTHA)
  • In-service inspections for damage mechanisms
  • New vessel and piping code inspection

Guided Wave Ultrasonic (GWT) Inspection Services

Guided Wave UT is used to rapidly inspect pipelines, piping systems, and other assets with minimal insulation removal. GUL quickly localizes cracking and corrosion damage to pinpoint and characterize length and depth. It is often used for unpiggable pipelines and for pipes resting on supports, making them susceptible to point-of-contact corrosion, or touchpoint corrosion (TPC).

In the hands of an experienced technician, Guided Wave UT (GWT/GUL) can locate and characterize defects internally and externally and will pick up cracking in many cases. MISTRAS often performs GUL inspections for refinery piping systems, including for elevated, buried, and insulated pipes. It is also used as a monitoring tool to track the condition of hard-to-access pipelines, including subsea lines.

Learn more about out Guided Wave Testing (GWT) solutions here.

Sample Guided Wave (GWT) Inspection Applications
  • Corrosion Under Insulation (CUI) inspection
  • Pipeline/Piping monitoring
  • Soil-to-air transitions
  • Touchpoint Corrosion (TPC)

Ultrasonic P-Scan Inspection Services

P-Scan is an inspection technique that uses multiple angle-beam transducers that operate independently. It is highly-accurate when in locating and sizing defects in early stages of damage formation.

Different forms of cracking such as fatigue, creep, Hydrogen-Induced Cracking (HIC), Stress-Oriented Hydrogen Induced Cracking (SOHIC) and various forms of embrittlement may occur depending on the process in which an asset is operating. These begin as microscopic damage, and can occur along the grain boundaries of the parent material or the weld heat affected zones.

P-Scan is used to accurately detect and size these mechanisms in their early stages of damage formation, while creating three-dimensional views of the weld that enable the operator to better visualize their positions.

Sample P-Scan Inspection Applications
  • Flaw Detection and Sizing: P-Scan
  • Hydrogen Induced Cracking (HIC)
  • Stress Oriented Hydrogen Induced Cracking (SOHIC)
  • Ammonia/Chloride Stress Corrosion Cracking (SCC)
  • Creep Cracking
  • Microbiologically Induced Corrosion (MIC)

What's Next?

Don't wait any longer to improve your operations.

Click here

Find your
Solution