In-house Radiography (RT) inspection services
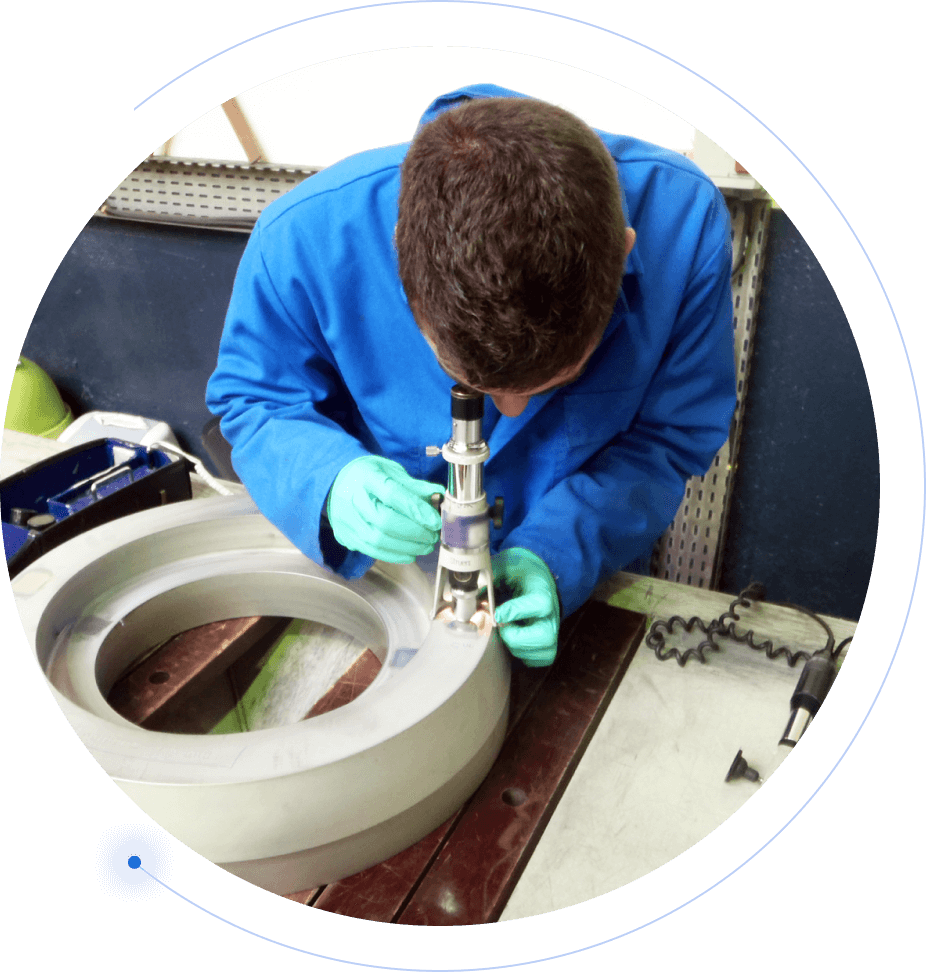
Operating labs around the world with multiple RT bunkers, MISTRAS performs traditional RT and direct radiography (DR) inspection services to detect surface and subsurface defects, including changes in thickness, corrosion, voids, cracks, and material density changes.
Our personnel are trained, certified, and backed by years of industry experience to perform RT inspections accurately, efficiently, and within strict safety parameters.
Computed Tomography (CT) Inspection Services
Computed Tomography (CT) is a versatile and quick form of advanced digital radiography (DR). In CT inspections, a test component is placed between an imaging system and a radiation source. The imaging system produces a standard 2-dimensional shadowgraph, but its prime differentiator is its ability to output three-dimensional cross-sectional images, even for components with complex geometries.
Traditional RT enables technicians to determine if a flaw exists in an asset or material, but the flat images cannot determine the defect’s depth or volume. MISTRAS’ CT inspections convert flat images into 3D reconstructions, making it ideal for lab inspections of complex parts, including castings, welded structures, plastics, ceramics, and special alloys.
CT inspections are often conducted on aerospace components, as CT can inspect for wall thickness, hot spots that can restrict airflow in engine components, and delamination and porosities in composites. The imaging system outputs ASTM- and DICONDE-compliant images, ensuring inspections are conducted to international imaging standards.
Linear Accelerator (LINAC) inspection services
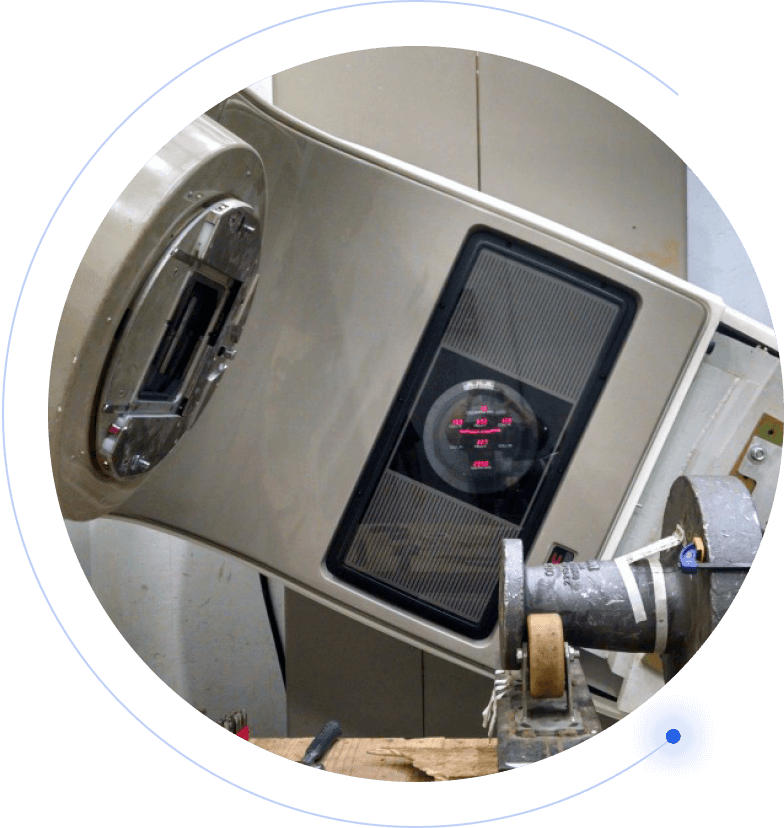
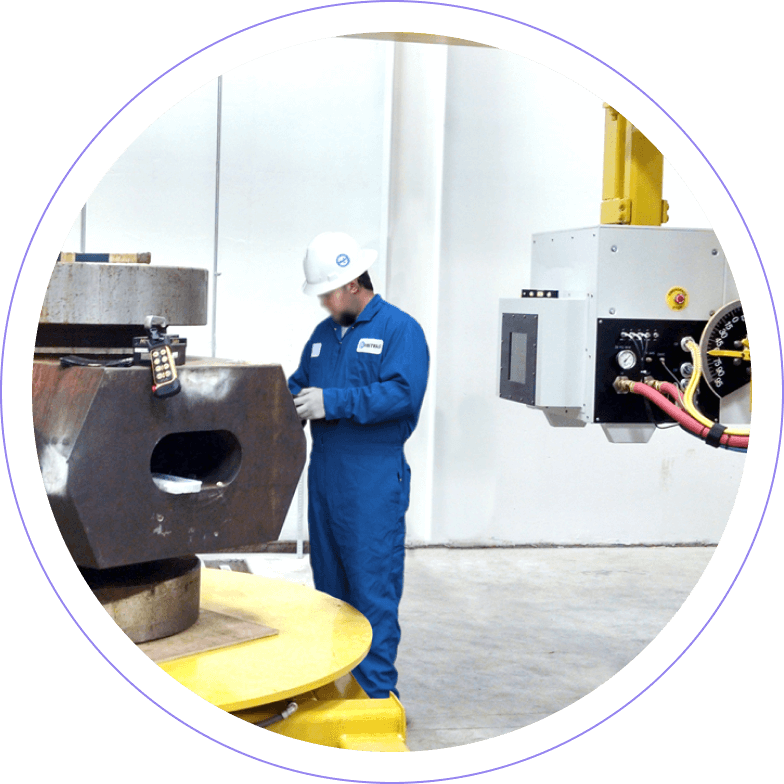
MISTRAS' 3-6 MeV Linear Accelerators (LINAC) accelerate electrons to energies high enough to penetrate deep into large or thick metal components for radiographic inspection. This enables them to complete a single exposure in minutes verses the dozens of hours it takes utilizing traditional radiographic methods.
Traditional inspection methods can’t always accommodate your largest assets, and can often take multiple days for inspections to be completed.
MISTRAS’ 3-6MeV Linear Accelerator (LINAC) enable MISTRAS to be one of the only NDT laboratories in the United States to penetrate up to 16 inches of steel, enabling us to cut inspections times from days to minutes.
LINAC inspections can be used for any component, large or small. Some examples of components we’ve inspected before include:
- Blow-Out Preventers (BOPs)
- Drawbridge Components
- Gears and Gear-Housing Components
- Railway Axles or Housings
- Castings
- Heavy Wall Valve Bodies
- Large-Diameter, High-Pressure, Forged Flange Components


